How to Wire AWS Cost Anomaly Detection Into Your Security Triage
AWS Cost Anomaly Detection is not just a billing tool. Configured correctly, it is an early warning system for compromised credentials, runaway functions, and infrastructure abuse.

Most teams set up AWS Cost Anomaly Detection once, point it at their total account spend, set a fixed-dollar threshold, and forget about it. They get an email when the bill is already high. That is not anomaly detection. That is a late invoice.
Used correctly, Cost Anomaly Detection is one of the fastest ways to catch a security incident before it becomes a financial disaster. This post walks through the setup, the thresholds that actually work, and how to connect the alerts to your security workflow rather than your finance inbox.
Why Fixed-Dollar Thresholds Fail
The default setup most teams use: one monitor covering total AWS spend, alert when the bill exceeds $X above expected.
The problem is that $X is usually set based on what feels like a lot of money, not based on what represents a genuine anomaly. A $500 threshold on a $50,000/month account will fire constantly on normal variance. A $2,000 threshold will miss a $1,800 weekend incident entirely.
The better approach is percentage-based thresholds scoped to specific services. A 40% increase in EC2 spend in a single day is an anomaly regardless of the dollar amount. A 200% increase in Lambda invocations is worth investigating whether the account spends $500/month or $50,000/month.
The AWS Cost Anomaly Detection user guide supports both fixed and percentage-based thresholds. Use percentage-based for security-relevant services.
Step 1: Create Monitors Scoped to Security-Relevant Services
Do not use a single account-level monitor. Create separate monitors for the services where security incidents show up as cost anomalies.
Monitor 1: EC2
Go to AWS Cost Anomaly Detection in the AWS console. Create a new monitor. Select “AWS services” as the monitor type. Choose EC2.
When an alert fires on this monitor, the first follow-up step is to break down the anomaly by region in Cost Explorer. A compromised IAM credential used for cryptomining will almost always launch instances in regions the account does not normally use. The monitor catches the spend spike. Cost Explorer’s region filter tells you where it happened.
Monitor 2: Lambda
Create a second monitor scoped to Lambda. A Lambda-SQS feedback loop, a compromised function being used for data exfiltration, or a runaway retry pattern will all show up as Lambda cost anomalies before they show up as security findings.
The guardrail logic here is sound: percentage-based anomaly detection on Lambda invocation costs catches runaway functions faster than fixed-dollar alerts. The cloud will scale your bug. The anomaly detection should scale with it.
Monitor 3: Data transfer
Create a third monitor scoped to data transfer costs. S3 exfiltration, unexpected cross-region traffic, and NAT Gateway abuse all show up here. A 50% increase in data transfer costs with no corresponding deployment is worth a CloudTrail check.
Monitor 4: Security services
Create a fourth monitor covering WAF, GuardDuty, Shield, and Security Hub combined. A spike in this monitor that does not correlate with a new security tool deployment means your attack surface is under more pressure than it was last month. That is a security signal, not a billing problem.
Step 2: Set Percentage-Based Thresholds
For each monitor, set the alert threshold as a percentage, not a fixed dollar amount.
Recommended starting thresholds:
- EC2: alert when daily spend increases 40% above the trailing 7-day average
- Lambda: alert when daily spend increases 50% above the trailing 7-day average
- Data transfer: alert when daily spend increases 30% above the trailing 7-day average
- Security services: alert when daily spend increases 25% above the trailing 7-day average
These are starting points. Adjust based on your account’s normal variance after the first 30 days. The goal is to catch genuine anomalies without alert fatigue from normal traffic spikes.
Note: Cost Anomaly Detection uses machine learning to establish the baseline. It needs at least a few weeks of data to build an accurate model. If you are setting this up on a new account, the first few alerts may be noisy. That is expected.
Step 3: Route Alerts to SNS, Not Just Email
The default alert destination is email. Email is fine for finance. It is not fine for security triage.
Create an SNS topic for cost anomaly alerts. In the Cost Anomaly Detection alert configuration, select SNS as the notification channel and point it at your new topic.
From SNS, you can route to:
- Slack via a Lambda function subscribed to the topic
- PagerDuty for on-call routing
- A security ticketing system
The Amazon SNS documentation covers the subscription setup. The Lambda-to-Slack pattern is well-documented and takes under an hour to set up.
The routing matters because cost anomaly alerts need to reach the same person who can pull CloudTrail and check GuardDuty. If the alert goes to a finance inbox and the security team never sees it, the early warning is wasted.
Step 4: Connect the Alert to a Triage Workflow
When a cost anomaly alert fires, the first action should not be “investigate the bill.” It should be “check whether this correlates with a security event.”
A simple triage checklist to run when an alert fires:
Which service and region? If EC2 in a region the account does not normally use, treat as a potential credential compromise until proven otherwise.
Pull CloudTrail for the same time window. Filter by the affected service and region. Look for
RunInstances,CreateBucket,PutBucketPolicy,GetObject, orInvokeFunctioncalls from unfamiliar principals or IPs. AWS Cost Explorer can help narrow the time window before you open CloudTrail.Check GuardDuty findings for the same period. Amazon GuardDuty analyses CloudTrail management events, VPC Flow Logs, and DNS logs. A cost anomaly with a corresponding GuardDuty finding is a security incident. A cost anomaly with no GuardDuty finding is still worth investigating, but the urgency is lower.
Check for IAM activity. If the anomaly is in EC2 or Lambda, check CloudTrail for
CreateAccessKey,CreateUser, orAttachUserPolicycalls in the same window. Attackers who gain access often create persistence before doing anything else.Determine if the anomaly is operational or security-related. A Lambda cost spike that correlates with a new deployment is operational. A Lambda cost spike with no deployment, no GuardDuty finding, and unusual invocation patterns is worth escalating.
What This Looks Like in Practice
A cost anomaly alert fires on Saturday morning. EC2 spend in eu-west-1 is up 180% from the trailing 7-day average. The account normally runs in ap-southeast-1.
The on-call engineer receives the SNS alert via Slack. They open CloudTrail, filter by eu-west-1, and find RunInstances calls from an IP address not in the account’s normal access range. The IAM principal is a long-lived access key attached to a deployment user.
GuardDuty has a UnauthorizedAccess:IAMUser/InstanceCredentialExfiltration finding from two hours earlier. It was not routed to Slack. The cost anomaly alert was.
The key is revoked. The instances are terminated. The total window from first anomaly to key revocation: 90 minutes.
Without the cost anomaly alert routed to the right channel, the GuardDuty finding would have sat unread until Monday. The window would have been 48 hours.
Easy Hack: Tag Your Monitors
Add a tag to each Cost Anomaly Detection monitor indicating its security relevance. Use a tag like security-triage: true on the EC2, Lambda, data transfer, and security services monitors. This makes it easy to filter and report on security-relevant anomalies separately from operational ones.
The Broader Point
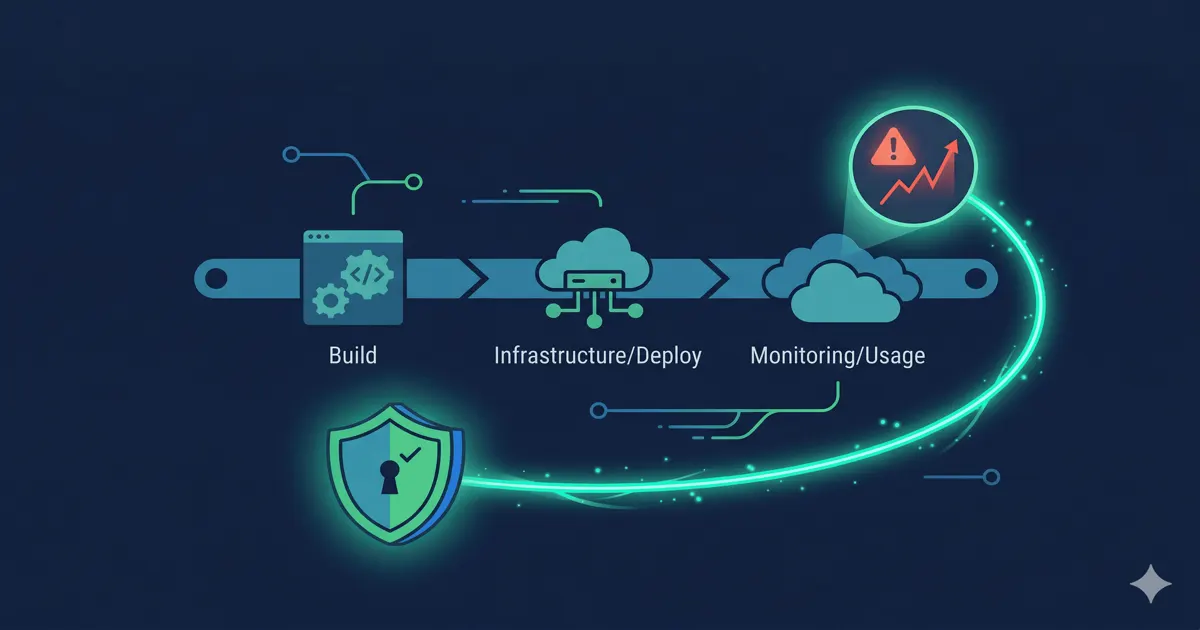
AWS Cost Anomaly Detection is already in your account. GuardDuty is already generating findings. CloudTrail is already logging API activity. The gap is not tooling. It is the workflow that connects them.
A cost anomaly alert that routes to a finance inbox and a GuardDuty finding that routes to an unmonitored email alias are two separate signals describing the same event. Building the workflow that connects them is a one-time setup that shortens your incident response window from days to hours.
Try CostObserver. Read-only access, no credit card, connects in minutes. Or explore the demo without signing up.